
Can you stretch a baseball cap? Yes, you can stretch a baseball cap to make it fit better, especially if it feels a bit too tight. This guide will show you how to safely and effectively stretch your baseball cap for that perfect, comfortable fit.
A baseball cap that pinches your head or feels too snug can quickly turn a stylish accessory into an uncomfortable burden. Whether your favorite cap has shrunk in the wash, or you simply bought one that’s a bit too small, there are several effective methods to expand your baseball cap. This comprehensive guide will explore various hat stretching techniques to help you loosen a baseball cap, making it more comfortable and ensuring a better fit. We’ll cover everything from simple DIY solutions to more specialized methods, ensuring you can achieve the ideal baseball cap fitting tips for your head.
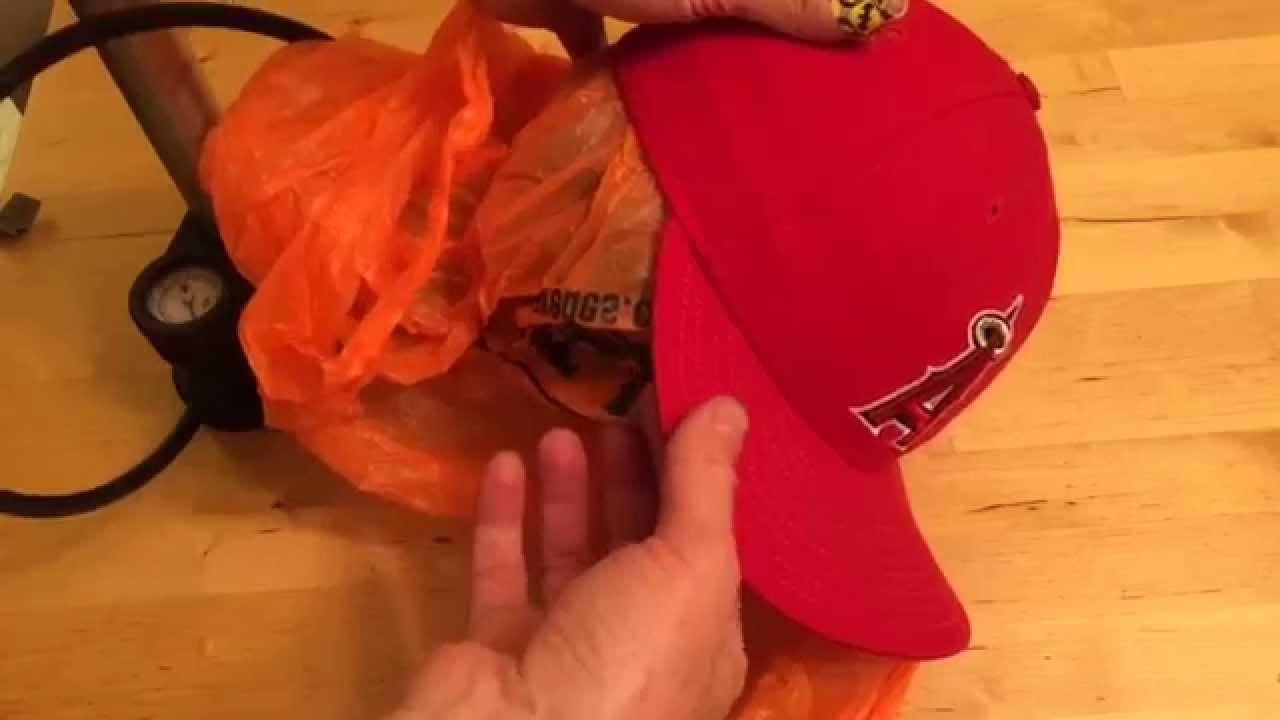
Image Source: i.ytimg.com
Why Your Baseball Cap Might Feel Too Tight
Before diving into stretching methods, it’s helpful to understand why your beloved headwear might be giving you grief. Several factors can contribute to a tight-fitting cap:
- Shrinkage: This is perhaps the most common culprit. Washing your cap in hot water or drying it on high heat can cause the fabric, particularly cotton or wool blends, to shrink.
- Manufacturing Variations: Even within the same brand and size, there can be slight differences in how baseball caps are constructed. Some might naturally run a little smaller.
- Head Size Changes: While less common, minor fluctuations in head size due to weight or even swelling can affect how a cap fits.
- New Cap Stiffness: Sometimes, a brand-new cap, especially those made with stiffer materials, will feel snug until it’s broken in.
Getting Started: What You’ll Need
The good news is that most hat stretching techniques require common household items. Here’s a list of things you might need:
- Water: Either warm or cold, depending on the method.
- A Hat Stretcher: A specialized tool designed to expand caps.
- Plastic Wrap or a Bag: To protect your cap from direct moisture if using a stretcher.
- A Ball or Round Object: Like a balloon, a large ball, or even a pot of the right size.
- Socks or Towels: To create padding and apply pressure.
- A Clothes Steamer or Iron with a Steam Function: For heat-based stretching.
- Fabric Softener (Optional): Can help make the material more pliable.
- A Measuring Tape: To check your progress.
Top Hat Stretching Techniques Explained
Now, let’s explore the most effective ways to stretch your baseball cap. The best method for you will depend on the material of your cap and how much you need to stretch it.
Method 1: The Water and Mold Technique (Gentle Stretching)
This is a simple, low-risk method suitable for most fabric caps, especially cotton and blended materials. It aims to gently reshape the cap by molding it to a larger form while damp.
Steps:
- Dampen the Cap: Lightly spray the inside of the cap with water or dampen a clean cloth and wipe down the inside. You want the fabric to be damp, not soaking wet.
- Place on a Mold: Find a round object that is slightly larger than your head or the current size of your cap. This could be a large balloon, a small exercise ball, or even a pot.
- Stretch and Shape: Carefully stretch the damp cap over the object. Use your hands to gently pull and shape the cap outwards, focusing on the areas that feel tight, like the front or the band.
- Secure and Dry: If using a balloon, inflate it until it exerts gentle pressure against the inside of the cap. If using another object, you might need to tuck in excess fabric or secure it with rubber bands or clips to maintain the stretched shape.
- Air Dry: Let the cap air dry completely. Avoid using a dryer, as the heat can cause further shrinkage. Patience is key here; ensure it’s thoroughly dry before trying it on.
This technique is excellent for minor adjustments and helping to fit a baseball hat more comfortably. It also helps to soften baseball cap materials that might feel stiff.
Method 2: The Hot Water and Towel Technique (Slightly More Aggressive)
This method uses heat and moisture to make the cap’s fabric more pliable, allowing for a bit more stretching.
Steps:
- Prepare the Cap: Take your baseball cap and place it on a flat surface.
- Apply Hot Water: You have a couple of options here:
- Iron with Steam: Hover an iron set to a steam setting over the inside of the cap. Don’t touch the cap directly with the hot iron. The steam will help relax the fibers.
- Hot Towel: Soak a towel in hot water, wring it out so it’s damp but not dripping, and place it inside the cap.
- Gently Stretch: While the cap is warm and damp, gently pull on the sides and front. You can use your hands, or for more even pressure, place it over a larger object as described in Method 1.
- Maintain Shape: If you used a mold or object, keep the cap on it until it’s completely dry. If you just used steam, you can manually hold the stretched shape for a few minutes while it cools slightly.
- Air Dry: Always air dry your cap.
This is a popular way to loosen a baseball cap, especially if it’s made from natural fibers like cotton or wool that respond well to steam. It can help expand baseball cap dimensions without damaging the material.
Method 3: Using a Hat Stretcher (Precise Control)
For those who frequently need to adjust cap sizes or want a more controlled stretching process, a dedicated hat stretcher is an excellent investment. These tools come in various designs, typically made of wood or plastic, with an adjustable mechanism.
Steps:
- Measure Your Cap: Before using the stretcher, measure the current circumference of your cap’s inner band.
- Adjust the Stretcher: Insert the hat stretcher into the cap and adjust its width to be slightly larger than the cap’s current size. Most stretchers have a screw mechanism that allows for gradual expansion.
- Insert and Expand: Place the adjusted stretcher inside the cap, ensuring it fits snugly. Slowly turn the screw or knob to expand the stretcher. You should feel a gentle, even pressure being applied to the inside of the cap.
- Leave Overnight (or Longer): The key to using a hat stretcher effectively is time. Leave it in the cap for at least 8-12 hours, or even overnight. This allows the fibers to gradually adapt to the new shape.
- Check and Repeat if Necessary: Remove the stretcher and try on the cap. If it’s still too tight, reinsert the stretcher, expand it a little further, and repeat the overnight process.
Using a hat stretcher is one of the most effective ways to manage baseball cap sizing issues. It provides consistent pressure, helping you expand baseball cap dimensions without creating awkward bulges or distortions. This method is also great for baseball cap alterations if you need to make a cap larger by a specific amount.
Method 4: The Balloon Stretch (Simple and Effective)
This is a variation of the water and mold technique but uses a balloon, which offers a consistent and adjustable pressure.
Steps:
- Dampen the Cap: Lightly mist the inside of the cap with water.
- Insert a Balloon: Take a sturdy balloon (not a thin party balloon) and insert it into the cap.
- Inflate the Balloon: Slowly inflate the balloon until it fills the cap and exerts a gentle outward pressure. You want it snug, but not so tight that it risks bursting or damaging the cap.
- Allow to Dry: Let the cap air dry with the balloon inside. This can take several hours.
- Try It On: Once dry, remove the balloon and try on the cap. If it needs more stretching, repeat the process, inflating the balloon a little more.
The balloon method is particularly good for stretching the crown of the cap, helping to fit a baseball hat more comfortably over the head. It’s a low-cost way to loosen baseball cap fits.
Method 5: The Hair Dryer/Iron Method (Use with Caution!)
This method uses heat to make the fabric more pliable, but it carries the highest risk of damage if not done carefully. It’s best for caps made of durable materials.
Steps:
- Dampen the Cap: Lightly dampen the inside of the cap with water.
- Apply Heat:
- Hair Dryer: Set your hair dryer to a medium heat setting. Hold it a few inches away from the inside of the cap and move it constantly to avoid concentrating heat on one spot. As you apply heat, gently pull and stretch the cap outwards.
- Iron: If using an iron, set it to a low to medium heat and use the steam function. Hover the iron over the inside of the cap, about an inch away, allowing the steam to penetrate the fabric. Simultaneously, gently stretch the cap with your hands. Never touch the cap directly with a hot iron.
- Mold and Shape: While the material is warm and pliable, shape the cap to your desired fit. You can place it over a mold (like a pot or ball) or simply use your hands.
- Cool and Dry: Allow the cap to cool and air dry completely.
This method can effectively expand baseball cap sizes by relaxing the fibers. However, always test on an inconspicuous area first and use the lowest effective heat setting to prevent discoloration or damage to the material. It’s a way to soften baseball cap materials, but proceed with caution.
Stretching Specific Parts of the Cap
Sometimes, you don’t need to stretch the entire cap, just a specific area.
Stretching the Brim
While less common, you might find the brim itself is too tight or stiff, affecting how the cap sits on your head.
- Gentle Bending: For fabric brims, you can often gently bend the brim outwards while dampening it slightly. Hold the desired curve for a few minutes while it dries.
- Stretcher with Brim Attachment: Some specialized hat stretchers have attachments designed to gently widen the brim.
- Caution: Avoid over-bending or forcing the brim, especially if it contains stiff material like cardboard or plastic, as this can cause permanent creases or damage.
Stretching the Sweatband
The sweatband is often the tightest part of the cap. Most of the techniques above will naturally stretch this area. If the sweatband is the primary issue:
- Focus Moisture: Concentrate dampening the fabric of the sweatband.
- Targeted Stretching: When using a stretcher or mold, apply extra pressure specifically to the sweatband area.
Things to Consider Before Stretching
Before you begin, keep these important points in mind:
- Material Matters: Different fabrics react differently to stretching.
- Cotton and Blends: These are generally the easiest to stretch and are most forgiving.
- Wool: Wool can be stretched, especially with steam, but it can also be sensitive to excessive heat and might shrink or felt if handled improperly.
- Synthetic Materials (Polyester, Acrylic): These are often less forgiving and can melt or distort with too much heat. Be very cautious with heat-based methods on synthetic caps.
- Leather/Suede: These materials require specialized leather conditioners and stretching techniques. Avoid water and heat unless specifically designed for leather.
- Embroidery and Patches: Caps with intricate embroidery or patches might be more susceptible to damage during stretching. Be gentle and avoid direct heat or excessive pulling on these areas.
- The Adjustment Strap: If your cap has an adjustable strap (like a snapback or strapback), the primary way to achieve a perfect fit is by using that strap. Stretching might be necessary if the cap’s crown or band is inherently too small.
- How Much to Stretch: Aim for gradual stretching. Overstretching can permanently damage the cap, making it too loose or misshapen.
Maintaining Your Stretched Cap
Once you’ve achieved the perfect fit, you’ll want to maintain it.
- Gentle Cleaning: When it’s time to clean your cap, use cold water and mild detergent. Air dry it flat or over a form to retain its shape. Avoid machine washing and drying.
- Proper Storage: Store your cap in a cool, dry place. Using a hat rack or shelf can prevent it from getting crushed and losing its shape.
Baseball Cap Fitting Tips: A Quick Recap
To ensure you always have a comfortable fit, here are some essential baseball cap fitting tips:
- Measure Your Head: Before buying, measure your head circumference. Most cap sizes are based on this.
- Try Before You Buy: If possible, always try on a cap before purchasing.
- Break Them In: For new caps that feel a bit snug, wearing them regularly for short periods can help them conform to your head shape naturally.
- Use the Adjustment Strap: Make sure the back strap is adjusted correctly for a comfortable, secure fit.
- Consider a Cap Stretcher: If you often find caps to be too tight, investing in a good quality hat stretcher is a worthwhile decision for managing baseball cap sizing.
Baseball Cap Alterations: Beyond Stretching
While stretching is common, sometimes other baseball cap alterations might be needed. For significant changes or if you’re unsure about DIY methods, consider consulting a professional hat maker or a tailor who specializes in hat alterations. They might have more advanced techniques to resize or reshape caps.
Frequently Asked Questions About Stretching Baseball Caps
Q: Will stretching my baseball cap damage it?
A: If done carefully and using appropriate methods for the material, stretching should not damage your cap. However, excessive heat, force, or harsh chemicals can cause damage like discoloration, misshapen brims, or weakened seams. Always proceed with caution and start with gentler methods.
Q: How much can I realistically stretch a baseball cap?
A: You can typically stretch a baseball cap by about 1-2 centimeters, or roughly half an inch, comfortably. Significant stretching beyond this might compromise the cap’s structure and appearance.
Q: Can I stretch a fitted baseball cap?
A: Yes, you can stretch a fitted baseball cap. The methods described above, particularly using a hat stretcher or the water and mold technique, work well for fitted caps. Since they lack an adjustment strap, stretching is often the only way to achieve a better fit if they are too small.
Q: What is the best way to stretch a wool baseball cap?
A: For wool caps, steam is your best friend. Use a clothes steamer or an iron with a strong steam function to gently moisten and relax the wool fibers. While damp and pliable, gently stretch the cap over a mold or your hands. Avoid direct heat from an iron, as this can cause shrinkage or felting.
Q: My baseball cap feels tight in the front. How can I stretch just that area?
A: To target the front, focus your dampening efforts on the front panel and the sweatband in that region. When using a hat stretcher or mold, ensure you are applying outward pressure specifically to the front of the cap.
Q: Can I use fabric softener to stretch my cap?
A: Fabric softener can help to soften baseball cap materials, making them more pliable and easier to stretch. You can add a small amount of fabric softener to your water solution when dampening the cap, but rinse it out thoroughly afterward to prevent residue buildup.
Q: How do I know if my cap is already stretched too much?
A: Signs that a cap has been overstretched include a loose, baggy fit, the brim appearing distorted or warped, seams looking strained, or the fabric losing its structure and looking “baggy.” If the cap no longer sits snugly on your head or feels loose, you may have stretched it too far.
By following these detailed methods and baseball cap fitting tips, you can effectively stretch your baseball cap to achieve that perfect, comfortable fit. Enjoy your newly adjusted headwear!